


Years ago after I left my job at the bank I had worked at I was yearning to do something while I was at home with my oldest son. Now having added motherhood to the mix I felt like I was rediscovering myself and I fell in love all over again with my artistic side. I had always been a creative person and had always enjoyed learning how to make and create new things. Right around that time an opportunity kind of landed right in my lap to make and sell my crafts at a local gift shop. It was such an exciting time and I found my self researching and learning to make all sorts of new things. Some of the things I made along with my husband were small shelves, hand painted signs and all sorts of little hand crafted items. One of them being this simple little fabric tree garland. What that experience taught me was to never be afraid to try something new and to make things myself. Of course I love buying from other small shops. And sometimes it’s way easier to just buy something from the store than make it yourself. But, there truly is something so rewarding about hand crafting items for your home and I encourage you all to just give it a try. Whether it be this craft or another one you’ve had pinned forever. Maybe its learning to paint or build something or trying new recipes. Whatever it is I promise you, you won’t regret creating something out of love for your home or for your family or for you friends or for yourself!!
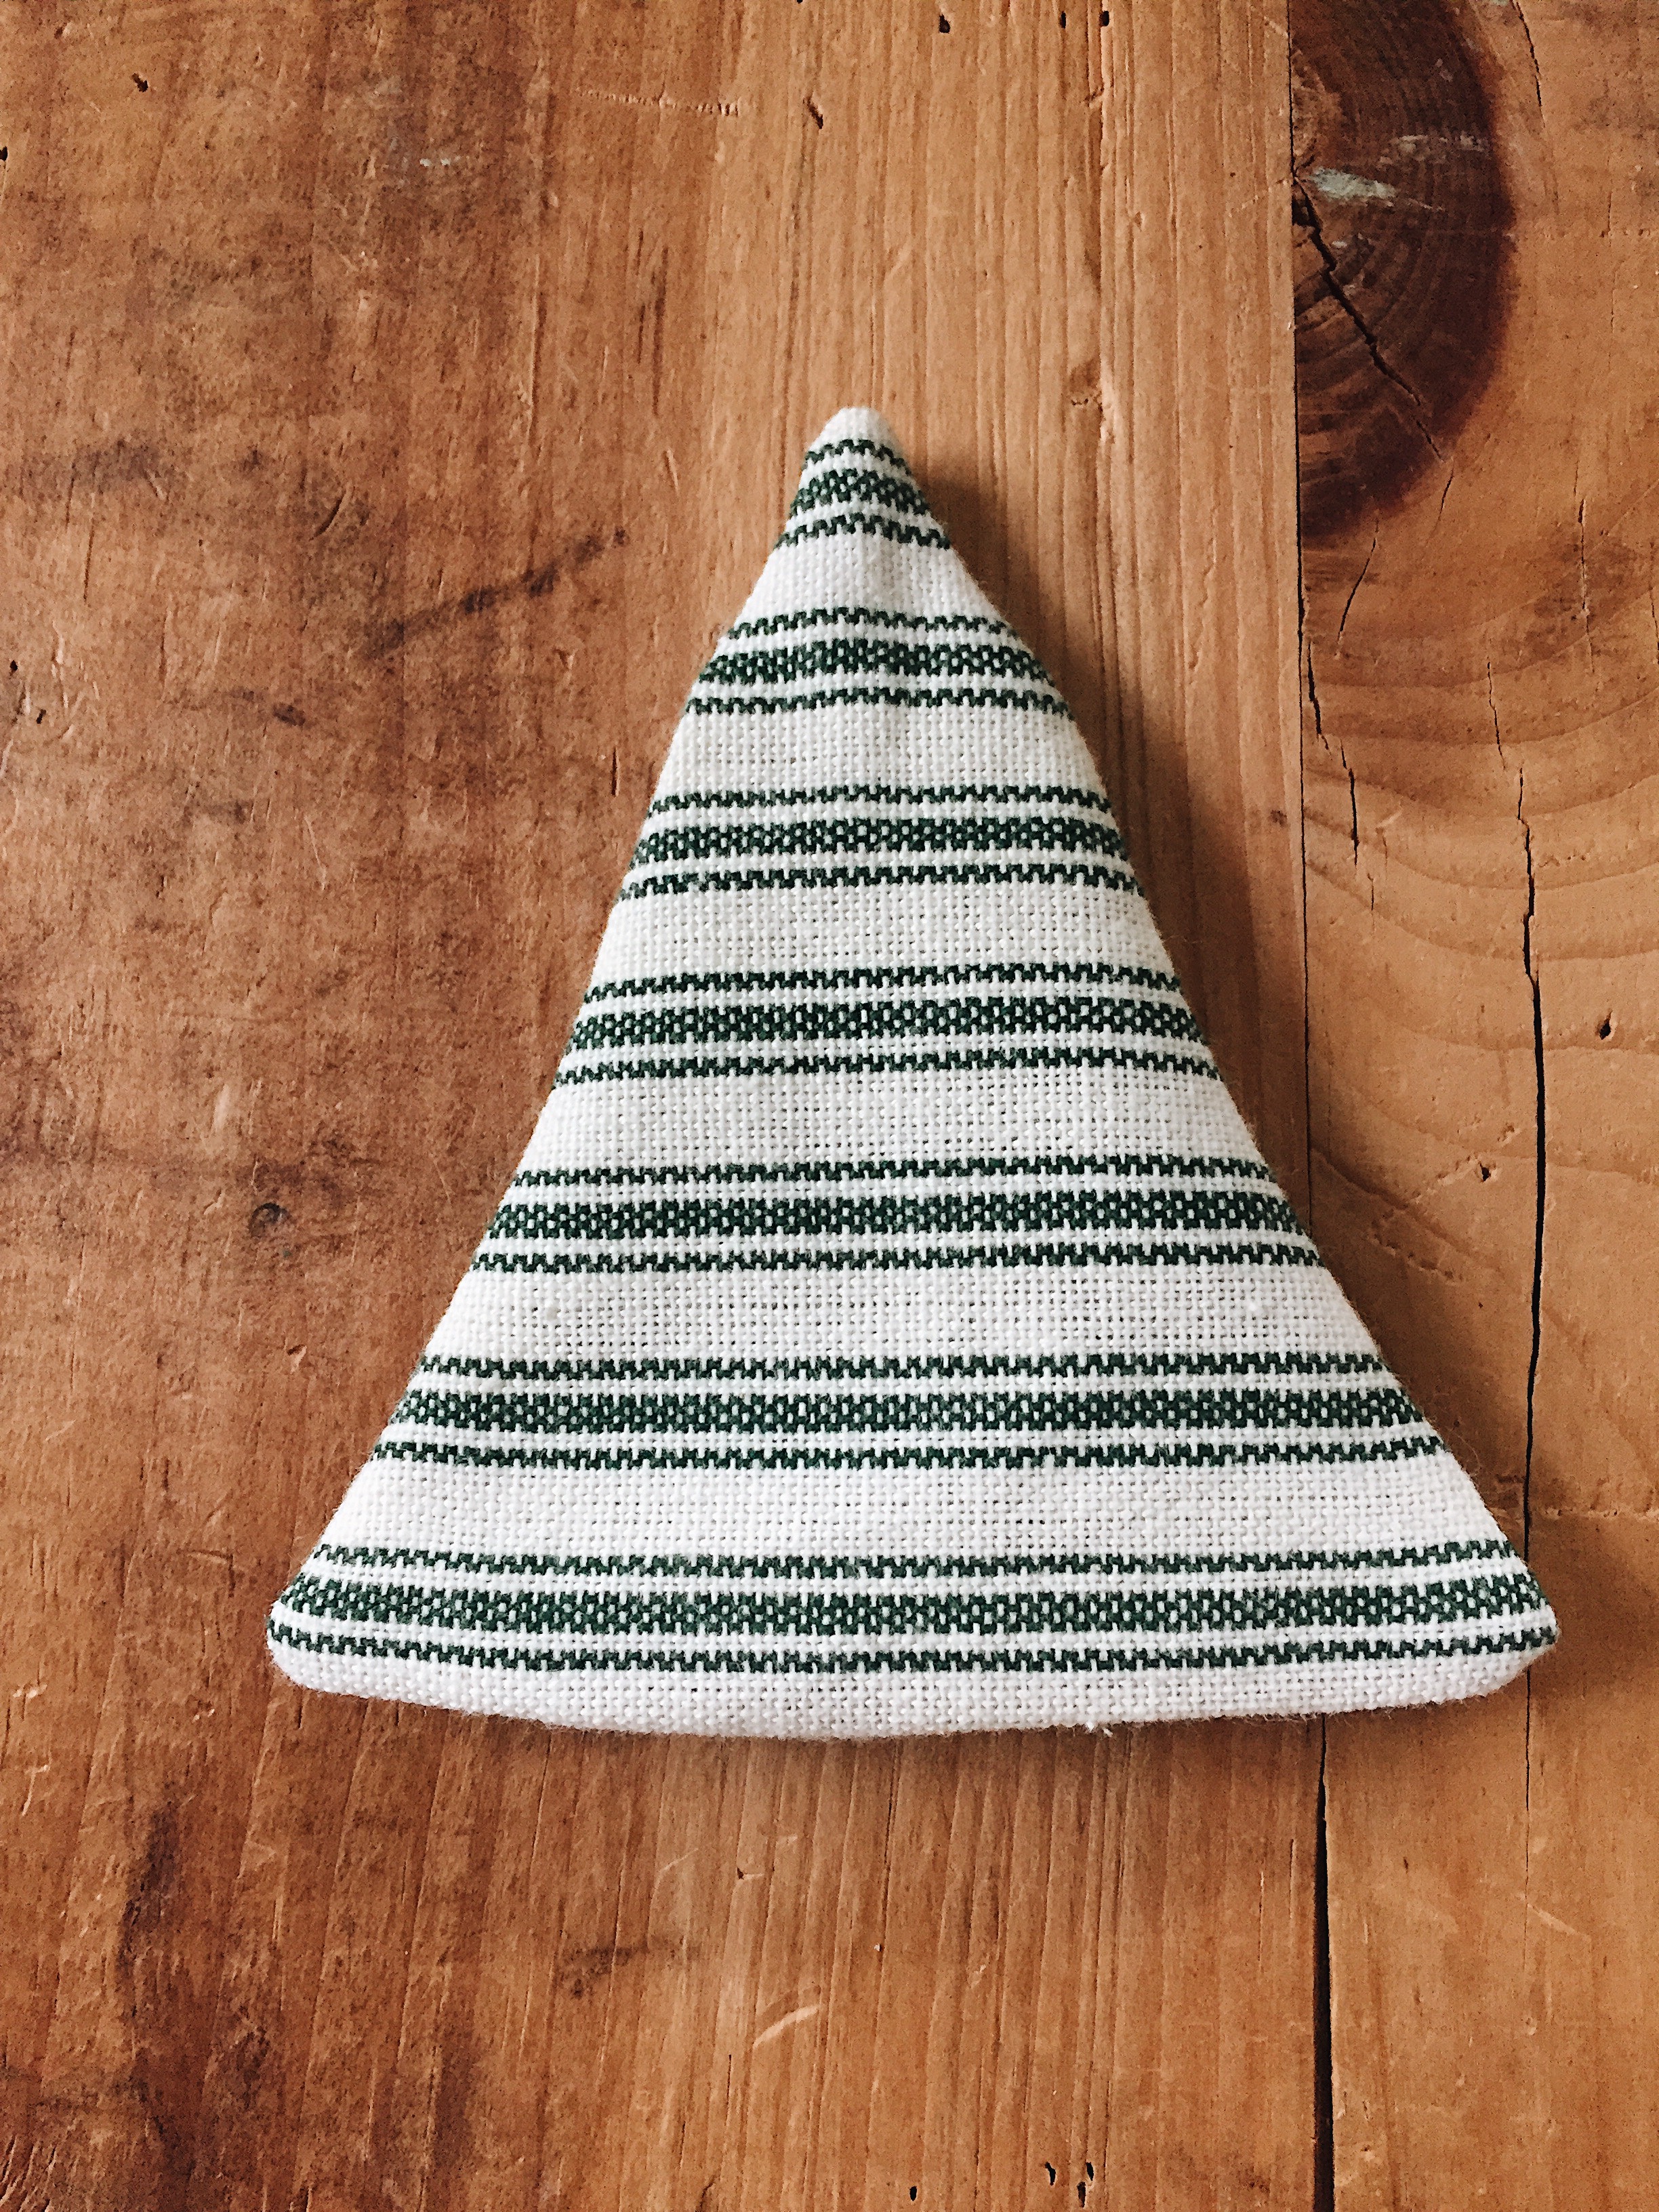
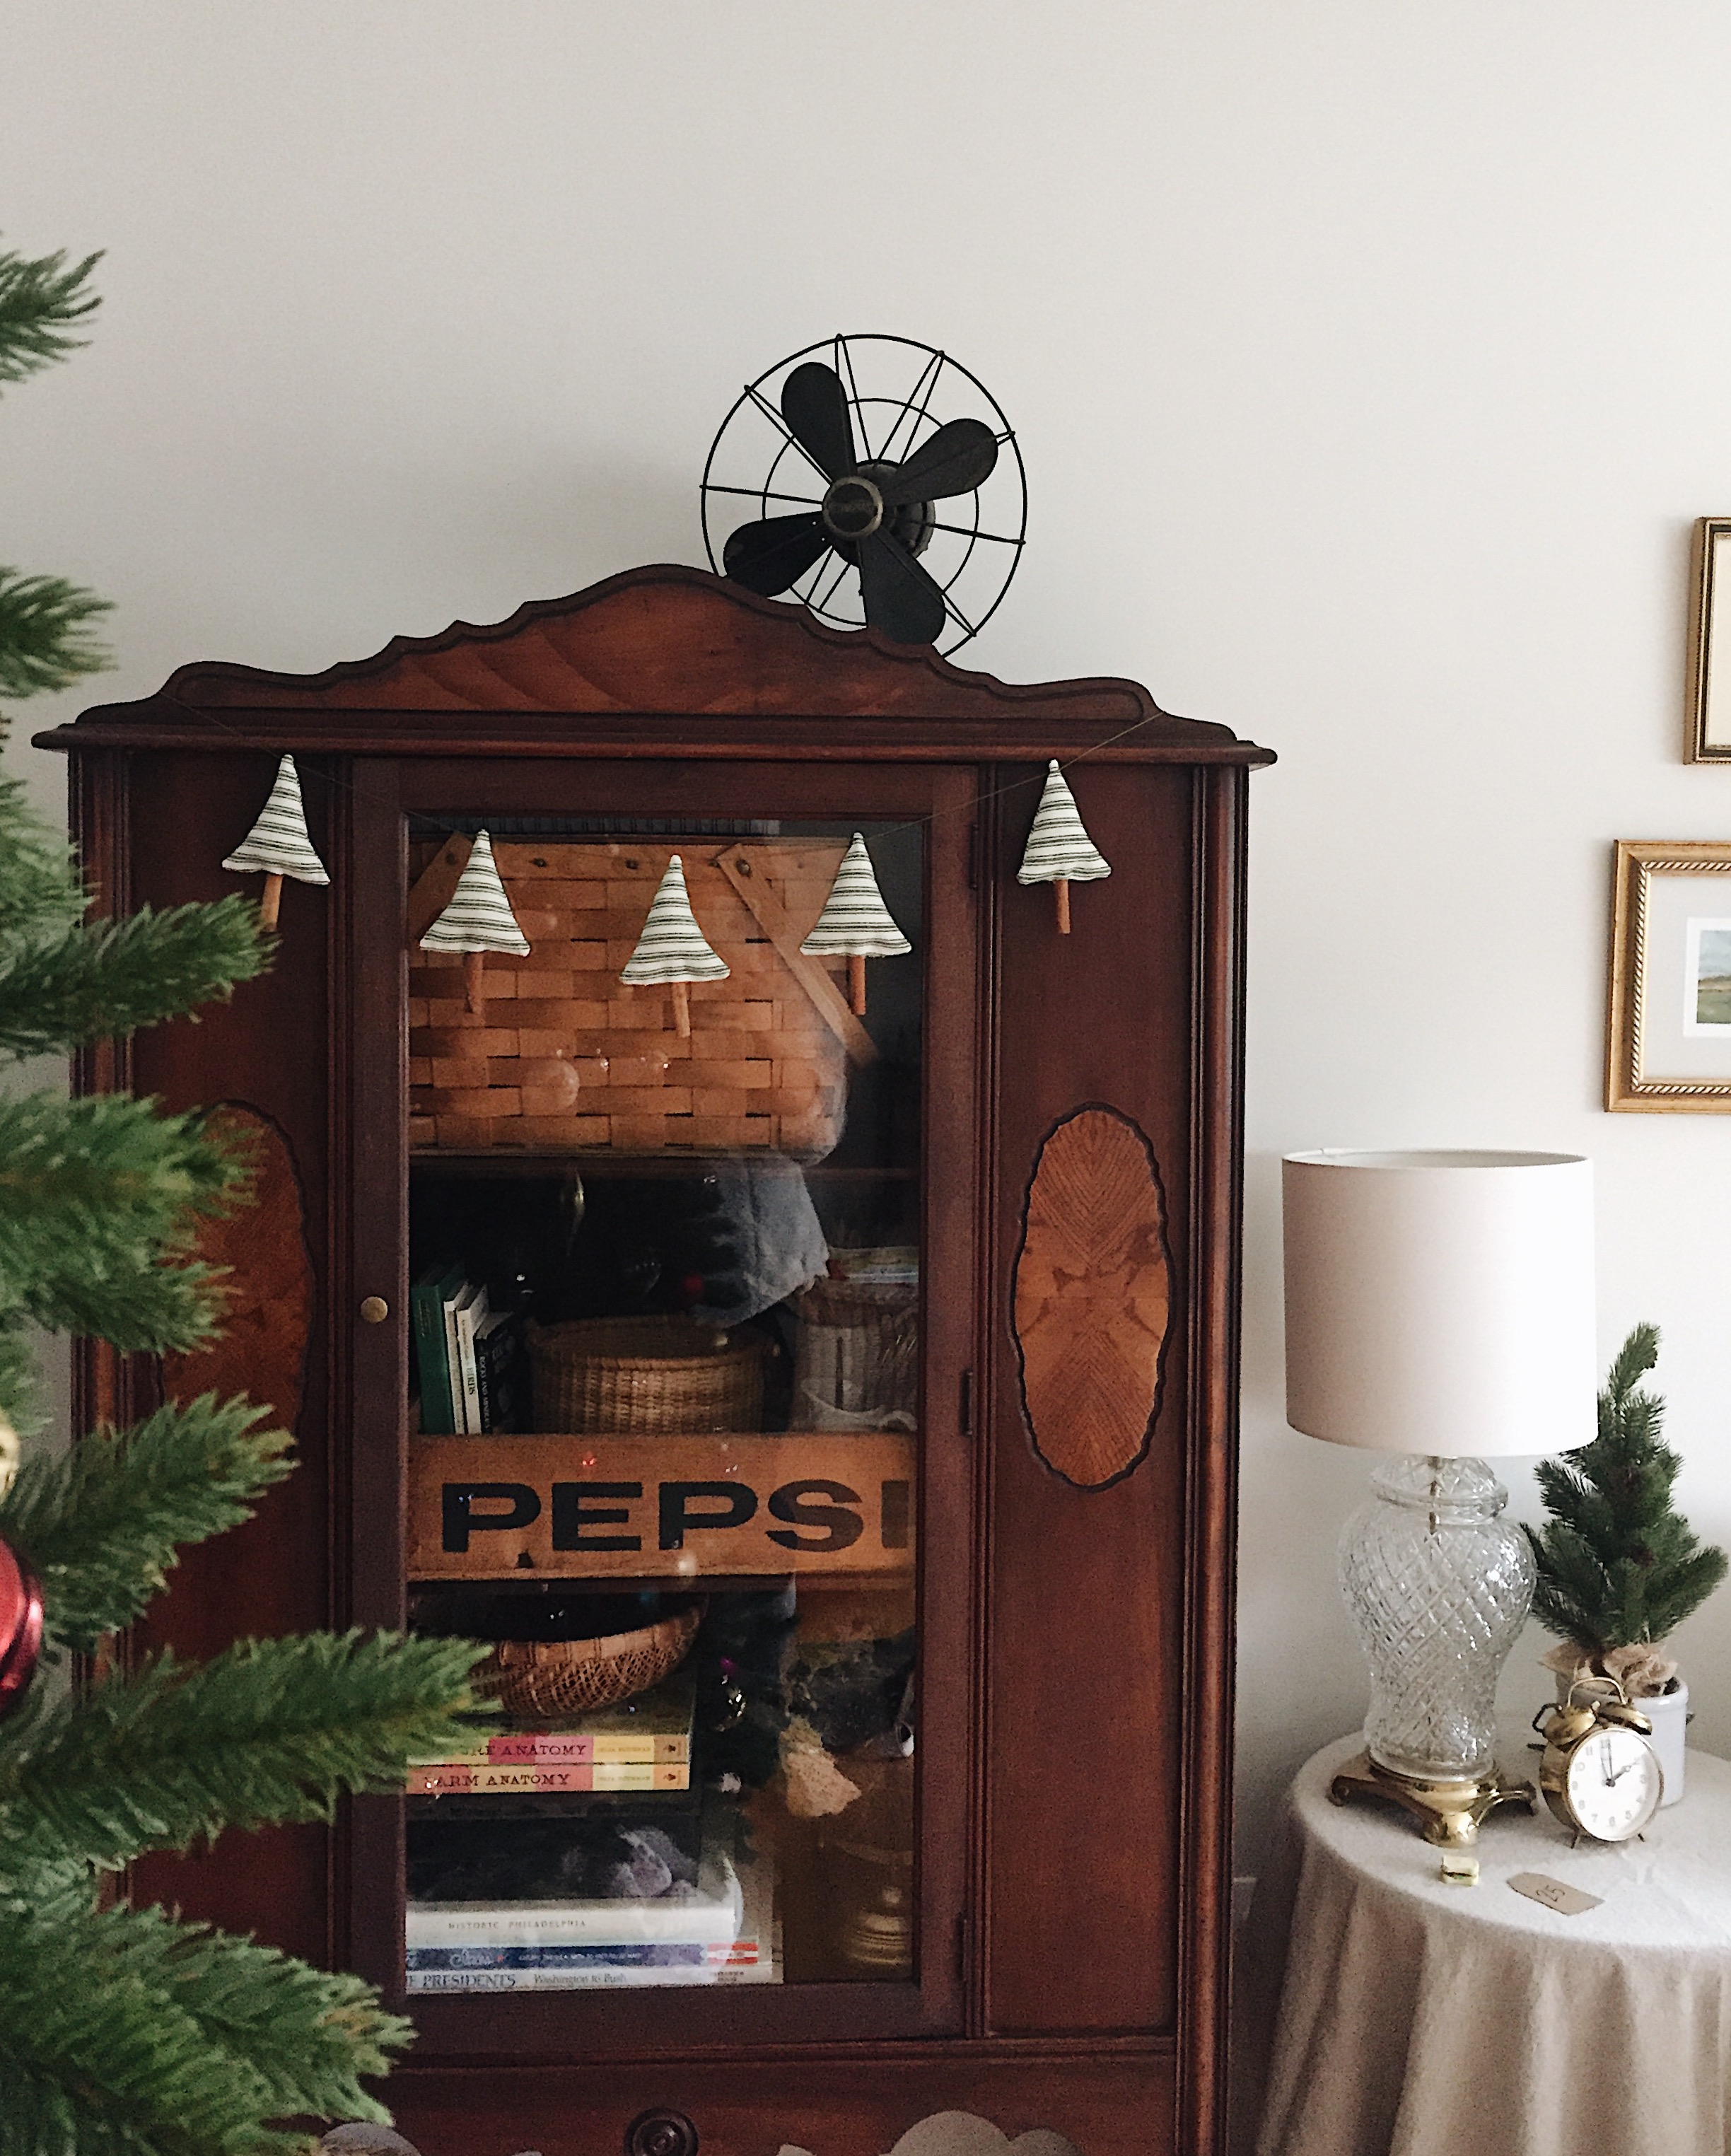
Fabric Tree Garland
Supplies:
- Scrap fabric, I used and old cotton dish towel
- Cinnamon sticks
- Triangle pattern [ I made mine using a paper bag…the sides were about 4.25″ and the bottom was about 3.5″
- Scissors
- Polyfil
- Sewing machine [preferred] or needle and thread
- Hot glue gun
- Embroidery floss, yarn, or string
Instructions:
- Step 1
- Make your pattern and trace onto your fabric.
- Step 2
- Sew by hand along the traced line or sew with your machine [make sure to back stitch]. I start at the bottom and stitch all the way around. Make sure you leave about an inch size hole in the middle at the bottom of the triangle to turn right side out, stuff, and place your cinnamon stick.
- Step 3
- Once everything is sewn, cut around your sewn edges. Be sure to leave enough at the bottom so that you can tuck the edges under to give you a clean finished edge. Turn right side out and fill your tree.
- Step 4
- Once all of your trees are filled place your cinnamon stick in the center opening, make sure your edges are tucked in and run a small bead of hot glue around the inside to seal everything up.
- Step 5
- Take a large embroidery needle and embroidery floss and string the top of the fabric tree to make a garland [or use as individual ornaments]


I hope this “how to” was helpful be sure to let me know if you have any questions!
Blessings,
Bree ❤


3 responses to “HANDMADE FABRIC TREE GARLAND”
This is so cute; I’m hoping to try it. Thanks for the post! Your home is lovely, by the way.
LikeLike
That’s just adorable
LikeLike
So cute! Thanks for sharing!
LikeLiked by 1 person